Wednesday, May 9, 2012

Rock Classification


I'm a little out of order in my posting.  Before we began the bird unit and before we classified plants but after we classified animals we classified rocks.  I thought about just leaving this post out since I didn't get a chance to  write it up when we were actually doing the unit and I hate to mix it in with might be a series of birds posts but I loved the pictures and I loved one of our activities and who really know if I'll get time to post about future bird activities anyway.  So here I am.


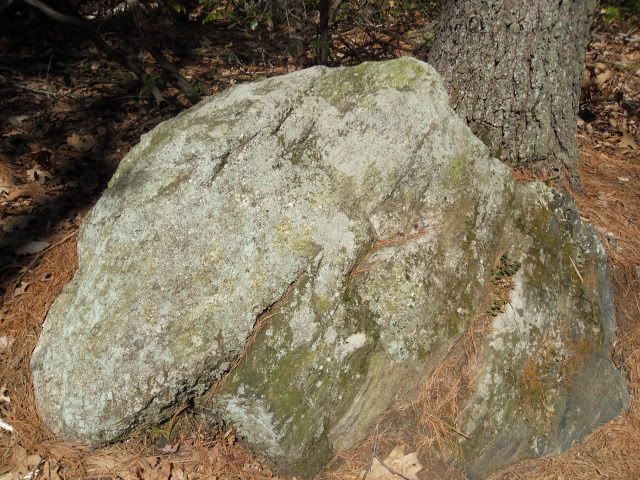
To start our short unit I took the kids walking through the woods to find rocks to bring home.  We couldn't bring the really big ones home so we took pictures of those.  On day two of rock collecting we came across a trail header with a sign that said to take out everything you brought in and nothing else except pictures.  Hmmm.  Not even rocks?  That never occurred to me.  I know you can't take plants out of the parks or pick certain flowers, but rocks?


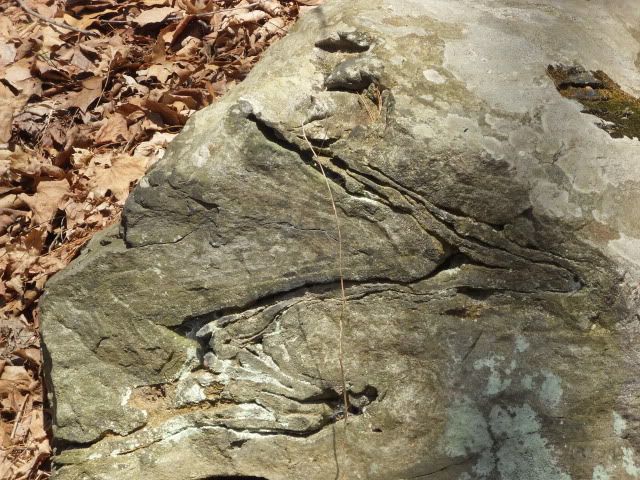
I'm glad I brought my camera and notebook!  Here's what you can do when you need to collect specimens to sort but you're not allowed.  Take a picture of the interesting rock.  In your journal, note the number of the picture on you camera.  Even on my little point and click, I can tell which picture I'm on when I press the little button that shows me all the pictures I took.  (Yeah, I'm clearly not a professional photographer.  Don't even own a cool camera like all the cool bloggers have.  But I'm okay with that.  I know my limitations and I accept them.)


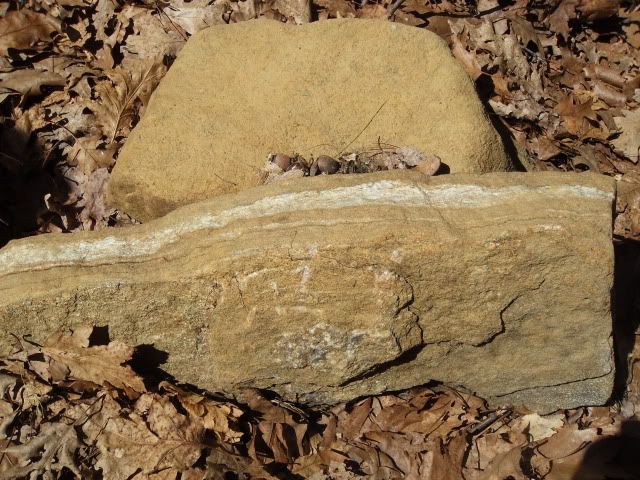
So once you've noted the picture number in your journal, add in all the details you can about the rock.  Note cleavage, glossiness, sparkles, speckles, layering, even hardness can be tested to some extent in the field if you have a few tools with you.  Stripes and color are important too even if you have a picture because sometimes, if you're a fancy photographer like me, you get home and look at the picture and what you thought was a white rock now looks kind of grayish.  


I try to identify them right there if I can.  I usually carry a pocket guide with me.  My favorite pocket guides are the Golden Guides that have been around forever, most of them written by Herbert S. Zim as the Rock and Mineral one is.  Pocket guides are not exhaustive though so sometimes you can't quite place a rock.  (More often than not for me since I am SO very bad at sciency things!)  But this is why it is so important to have good notes.  If you can identify your rock while you are out and about, it's still great to have good notes for future collecting.


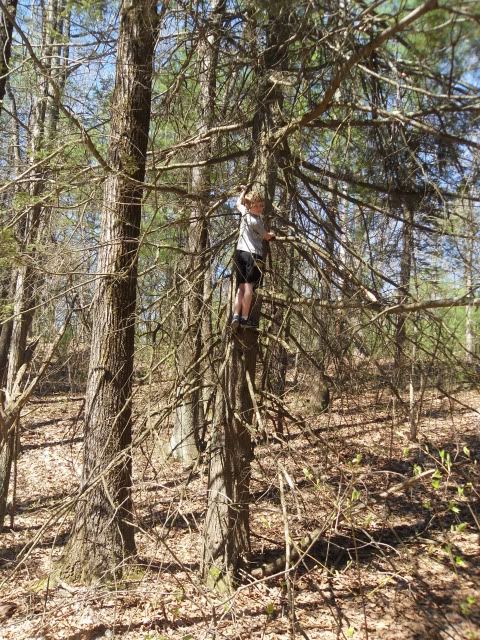
My son spent much of hiking time trying to find trees to climb.


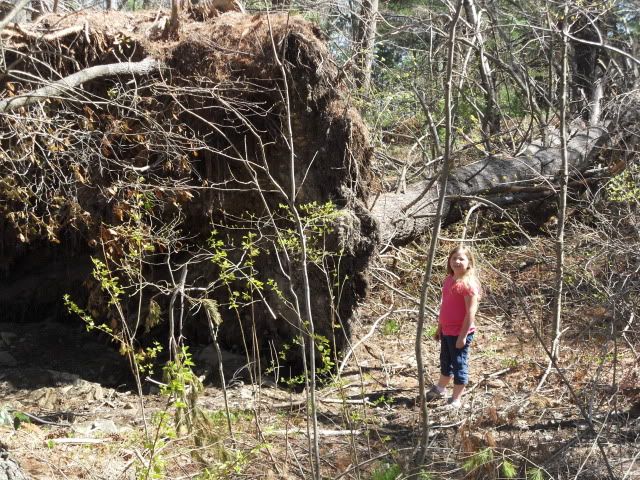
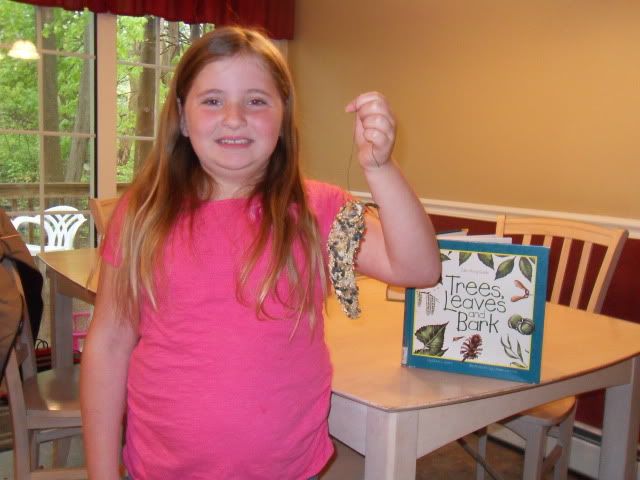
This is my daughter next to the roots of a tree that had fallen over last year.  My son found this one particularly easy to climb since it was laying down for him.


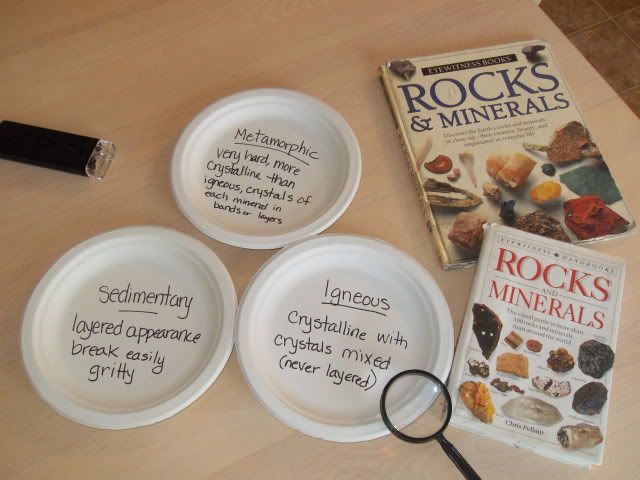
I'll share a simple activity we did on day one to start dividing up the rocks for identification.  Breaking them into groups based on whether they were igneous, sedimentary or metamorphic I labeled paper plates for each category.  A magnifying glass or even a hand held microscope and some identification books are all handy for this activity. 


Then just start sorting the rocks.  To make it easier to understand I chose the first few rocks and had my kids identify them.  This way I could pick the obvious ones so they could really see the differences between the three types of rock.  

That was my favorite activity.  It was totally simple but worked well for beginning rock collectors.  Including ME! :)

Tuesday, May 8, 2012

Bird Diagramming

Yesterday we switched back to our final three weeks on Attentiveness with our focus on birds and John James Audubon.

Choosing the Right Diagram
After finding a few different diagrams of birds on the internet I couldn't decide which I liked best.  I liked the color in this one from the The Robinson Library, and it was nice and simple.  But it looked maybe too simple. This one from the Birds of Yosemite National Park website seemed more detailed but I thought perhaps confusing for the kids.  Finally, this one from Mr. Joanides' Wiki Pages (scroll 2/3 of the way down) looked pretty good but well, you know how it is.  I just couldn't decide. The diagram with the wing spread out intrigued me and even the one at the top of Mr. Joanides' Wiki page showing the skeleton of the bird is pretty cool.  There are tons of bird diagrams on the internet, all fabulous but somehow you have to narrow it down to what your needs are or you your kids will be overwhelmed.  Right.

So I made the deciding process into an activity for my 9yo and 7yo.  I asked them to look and compare the three different diagrams and tell me what they liked or disliked about each one and also explain how they are different.  Finally I asked them to decide which they thought would be the best one to use for learning the parts of a bird and tell me why.  They were very observant. (Awesome!  Goal #1 met already and we haven't even learned anything about the birds yet!)  While the one with color added to it was more attractive to my daughter, my son pointed out that the others had more parts diagrammed.  The one with the parts labeled right on the bird they both thought was too confusing and "messy" but it labeled the coverts on the wings specifically whereas the colorful one did not and the third only pointed out the wing bars.  Final decision?  We're using all three.

Cut and Paste Diagramming


Today I took the diagramming one step further than my usual "label-the-parts" method.  I printed out a simple black and white outline drawing of a robin twice for each of my kids.  On the first one I made labeling lines pointing to the different parts of the bird so they could label the parts as usual.  The labeling didn't take very long and I let them use the diagrams they had chosen to find the right parts.  In advance I colored and cut out the second bird's parts following the bird puzzle idea I got from The Adventures of Bear.   When it came time to glue the puzzled out bird parts onto the black and white robin, I would call out a part and they would have to find it among their puzzle pieces and glue it onto the diagram they just finished labeling.  It went well and doubled the retention possibilities of simply labeling.

Monday, May 7, 2012

Bayeux Tapestry

The Bayeux Tapestry is a 20 inch by 230 foot-long embroidered cloth depicting the events of the Norman Invasion of 1066 including those events leading up to the invasion starting in 1064.  The Museum of Reading has an excellent website with scene by scene photos of the tapestry and descriptions of what is happening in each scene.  Although there seem to be several theories as to who commissioned the work, the two most popular sources are Bishop Odo, William the Conqueror's half brother or William's wife Queen Matilda and her ladies-in-waiting.

This will probably be my last post about the Middle Ages for a while.  My eldest daughter has finished this section of HOW II and has moved on to China but I wanted to share a little about this particular project before moving on.  And although some of my students groaned a bit when we began the project, they all worked to complete them and I think they are the better for it.  The assignment in the HOW book was to make an embroidery copy of one section of the tapestry.  Since none of the kids in my class wanted to learn to embroider and frankly we didn't have the time to devote to learning this handicraft, we opted for a simpler route of copywork.  Each student was to choose one section of the tapestry and make a full-scale drawing using the grid method.  Color was added as closely as possible with colored pencils. We couldn't get exact color matches but I allowed some leeway as long as they stayed within the color scheme.


Tuesday, May 1, 2012

Plant Crafts

Today was a rainy day so instead going outside to hunt for plants to identify we decided to get crafty with our plant specimens that were collected last Friday at co-op.


My son made a moss garden in a shallow dish.  It came out beautiful and adorns our kitchen table as a centerpiece.  The bottom has a layer of gravel sized rocks then he put in a layer of dirt over that.  He broke off a piece of old log to lay in there and added a good sized rock so the moss will have something to climb on. 
Finally he put about five different types of moss down over the dirt.  I'm terrible at identifying rocks, and plants even though I am trying to teach my children how to do this.  We have a tree/shrub in the front yard that when planted was supposed to be a rose of Sharon but I've seen rose of Sharon and this ain't one.  It's been there about 8 years.  But I digress.  I think one of his moss samples is juniper moss.  The rest I can't figure out.  One is soft, short and compact, another has longish bits that are more separated and my kids call it coral moss but I don't think it is, and still another has very light tips growing out from darker stems and kind of looks like bitty worms, oh and I think there is still yet another kind of moss growing out in the midst of that one that looks like tiny palm trees with shiny leaves.   Hmm, the more I look at this arrangement the more types of moss I find.   I'm up to seven types now so I'm going to stop trying to describe them.  Apparently there are about 12,000 species of moss so this blog post could go on forever.

We hope it will last a while if we keep it moist.  But we've never done this before so who knows!


My daughter made a bird feeder by coating a pine cone with peanut butter then coating it in bird seed and bread crumbs.  We'll wait for the rain to stop before we put it outside so the seeds don't get all washed off.  I'm hoping this really does bring the birds in and I plan to hang it somewhere we can see it from our schoolroom windows.  Next week we begin our study on birds so this project tied the two sub-units together very nicely.