I'm a little out of order in my posting. Before we began the bird unit and before we classified plants but after we classified animals we classified rocks. I thought about just leaving this post out since I didn't get a chance to write it up when we were actually doing the unit and I hate to mix it in with might be a series of birds posts but I loved the pictures and I loved one of our activities and who really know if I'll get time to post about future bird activities anyway. So here I am.
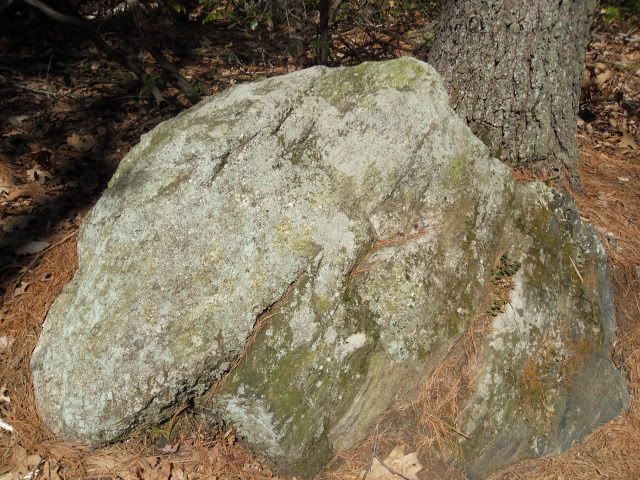
To start our short unit I took the kids walking through the woods to find rocks to bring home. We couldn't bring the really big ones home so we took pictures of those. On day two of rock collecting we came across a trail header with a sign that said to take out everything you brought in and nothing else except pictures. Hmmm. Not even rocks? That never occurred to me. I know you can't take plants out of the parks or pick certain flowers, but rocks?
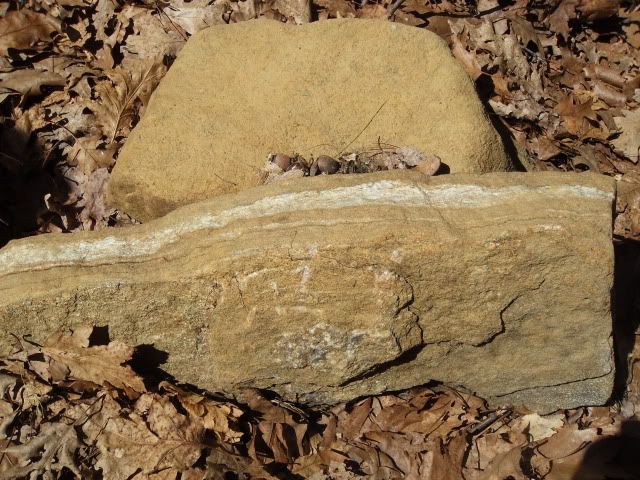
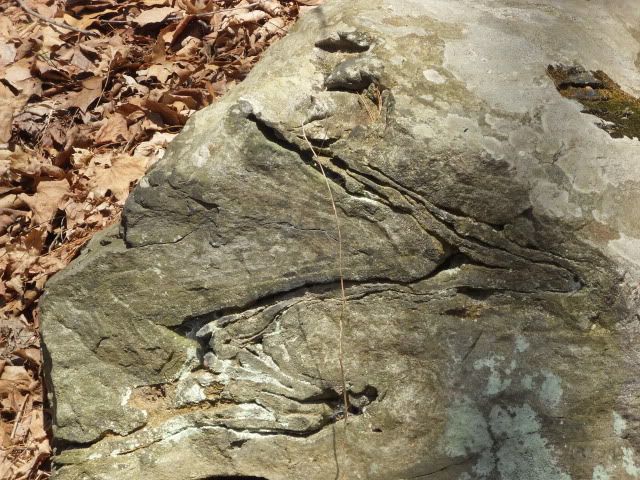
I'm glad I brought my camera and notebook! Here's what you can do when you need to collect specimens to sort but you're not allowed. Take a picture of the interesting rock. In your journal, note the number of the picture on you camera. Even on my little point and click, I can tell which picture I'm on when I press the little button that shows me all the pictures I took. (Yeah, I'm clearly not a professional photographer. Don't even own a cool camera like all the cool bloggers have. But I'm okay with that. I know my limitations and I accept them.)
So once you've noted the picture number in your journal, add in all the details you can about the rock. Note cleavage, glossiness, sparkles, speckles, layering, even hardness can be tested to some extent in the field if you have a few tools with you. Stripes and color are important too even if you have a picture because sometimes, if you're a fancy photographer like me, you get home and look at the picture and what you thought was a white rock now looks kind of grayish.
I try to identify them right there if I can. I usually carry a pocket guide with me. My favorite pocket guides are the Golden Guides that have been around forever, most of them written by Herbert S. Zim as the Rock and Mineral one is. Pocket guides are not exhaustive though so sometimes you can't quite place a rock. (More often than not for me since I am SO very bad at sciency things!) But this is why it is so important to have good notes. If you can identify your rock while you are out and about, it's still great to have good notes for future collecting.
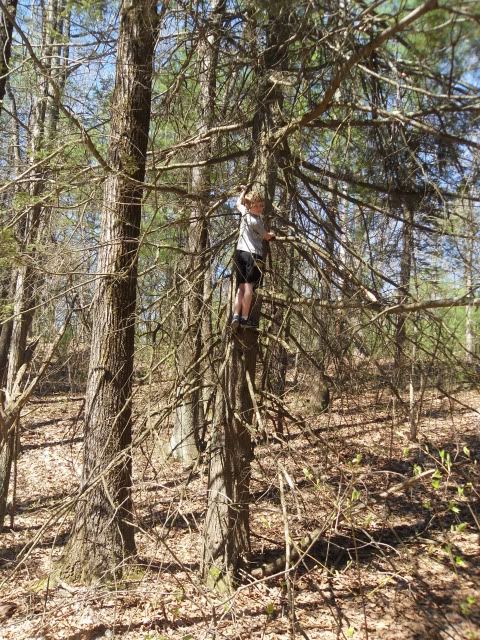
My son spent much of hiking time trying to find trees to climb.
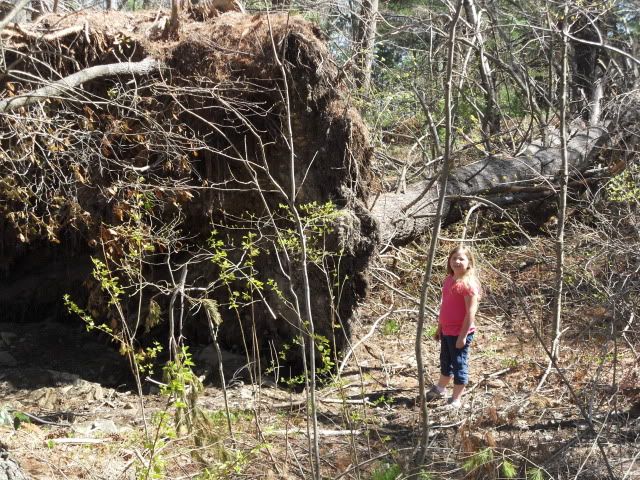
This is my daughter next to the roots of a tree that had fallen over last year. My son found this one particularly easy to climb since it was laying down for him.
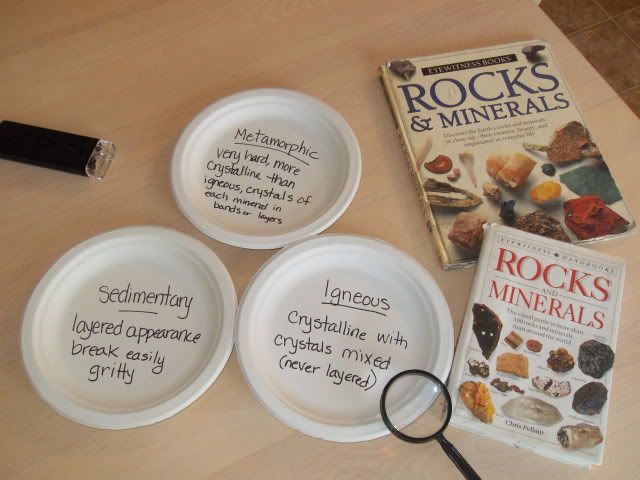
I'll share a simple activity we did on day one to start dividing up the rocks for identification. Breaking them into groups based on whether they were igneous, sedimentary or metamorphic I labeled paper plates for each category. A magnifying glass or even a hand held microscope and some identification books are all handy for this activity.
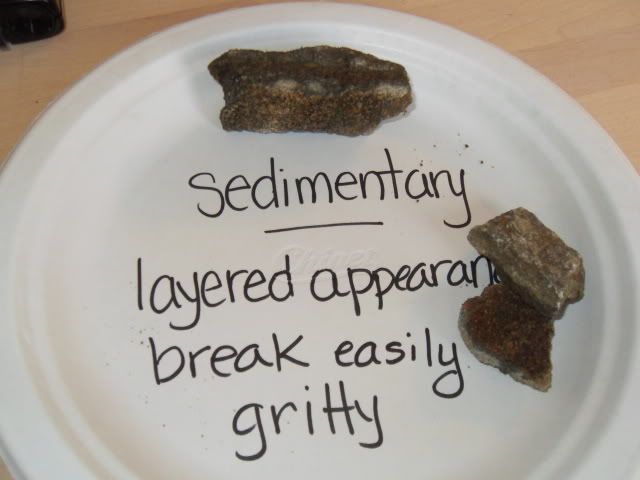
Then just start sorting the rocks. To make it easier to understand I chose the first few rocks and had my kids identify them. This way I could pick the obvious ones so they could really see the differences between the three types of rock.
That was my favorite activity. It was totally simple but worked well for beginning rock collectors. Including ME! :)



No comments:
Post a Comment