
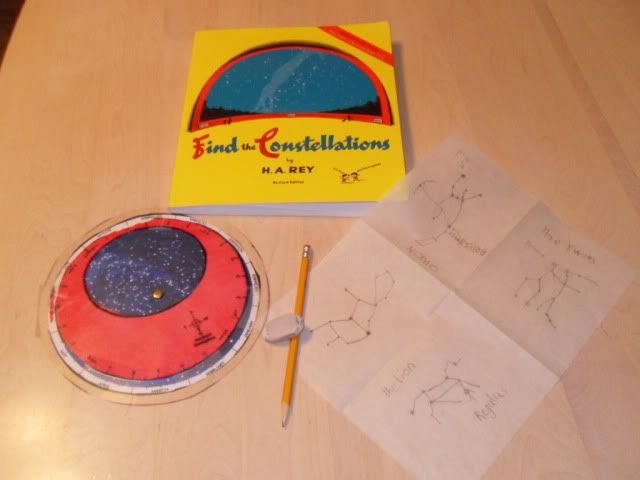
 During the navigation portion of our unit, my little ones are spending time learning about constellations. My favorite book so far has been H. A. Rey's book entitled "Find the Constellations." This is the perfect book for kids and parents to learn about the constellations and the names of the 1st magnitude stars as well as lots of other tidbits about the sky but without getting too technical or boring. (Not that it would be boring for me of course but you know, for the sake of the kids.)
 For our projects this week we needed this book, some tracing paper, a Pringles can for each child, pencils, ERACERS (patience), a hammer, an awl and a flashlight. We also pulled out the star charts my older two made at a nature preserve field trip we went on a few years ago. This is where I got the idea for our constellation can project that I'm going to share with you in a minute.
We started the week just reading about navigation and using the night sky to find your way. Once I started showing ds and dd specific constellations I pulled out the tracing paper and using the book I mentioned earlier, I traced the dots for the stars in a few different constellations. The kids were then able to "connect the dots" to see how the group of stars could look like it's namesake. I then had them label the constellation and the 1st mag. stars.
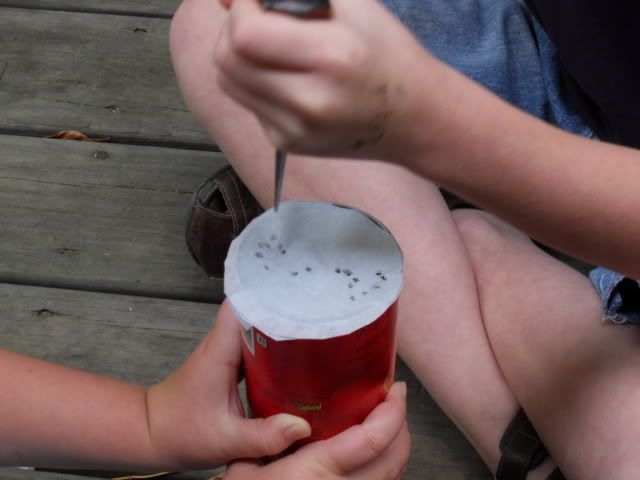 On a seperate day we made the constellations in a can project. It's good to space these things out. I'm learning, don't pack too much into one day or I might just go crazy. So they traced the stars onto a circle of tracing paper the size of the Pringles can lid. Then they used scotch tape to stick this circle of tracing paper onto the bottom of the Pringles can. Note: The clear lid was very handy! Because I did not use premeasured drawings, the kids used the lids to go through the book and find a constellation that would fit within it's boundaries.
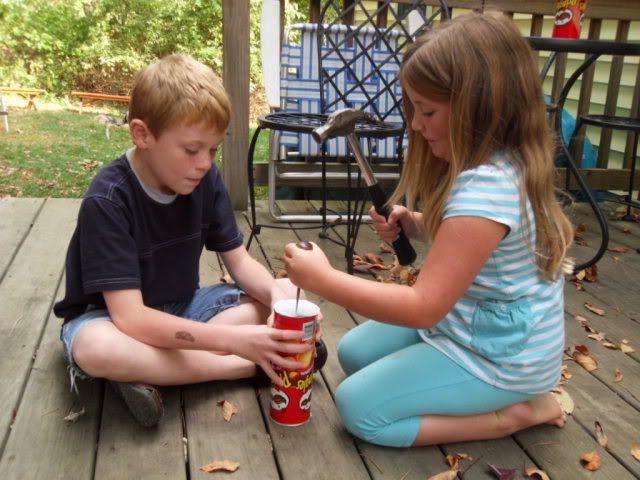

Can I just say how awesome it is to see my cherubs working together and helping each other with a project?! I am just giddy with the thrill of it all!
Once the holes were finished we took off the tracing paper, grabbed a flashlight and headed for our very dark garage to try them out. We found that if you place the flashlight just at the very edge of the Pringles can you get a clearer image. If you put the flashlight down in the can, too much light will shine through and reflect onto your wall so you can't make out the stars.

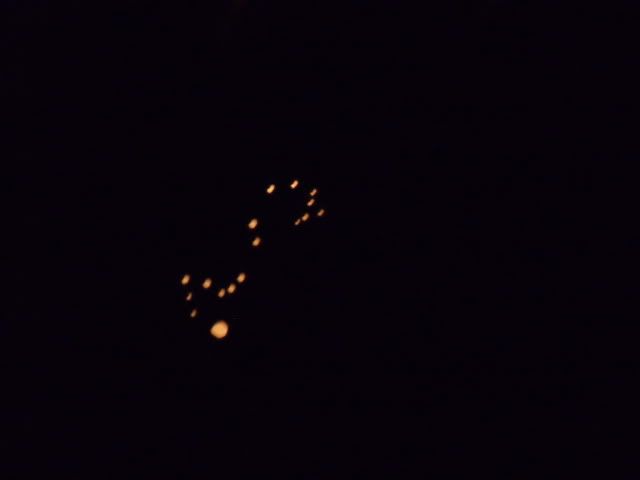
Can you name the constellations they chose?
No comments:
Post a Comment